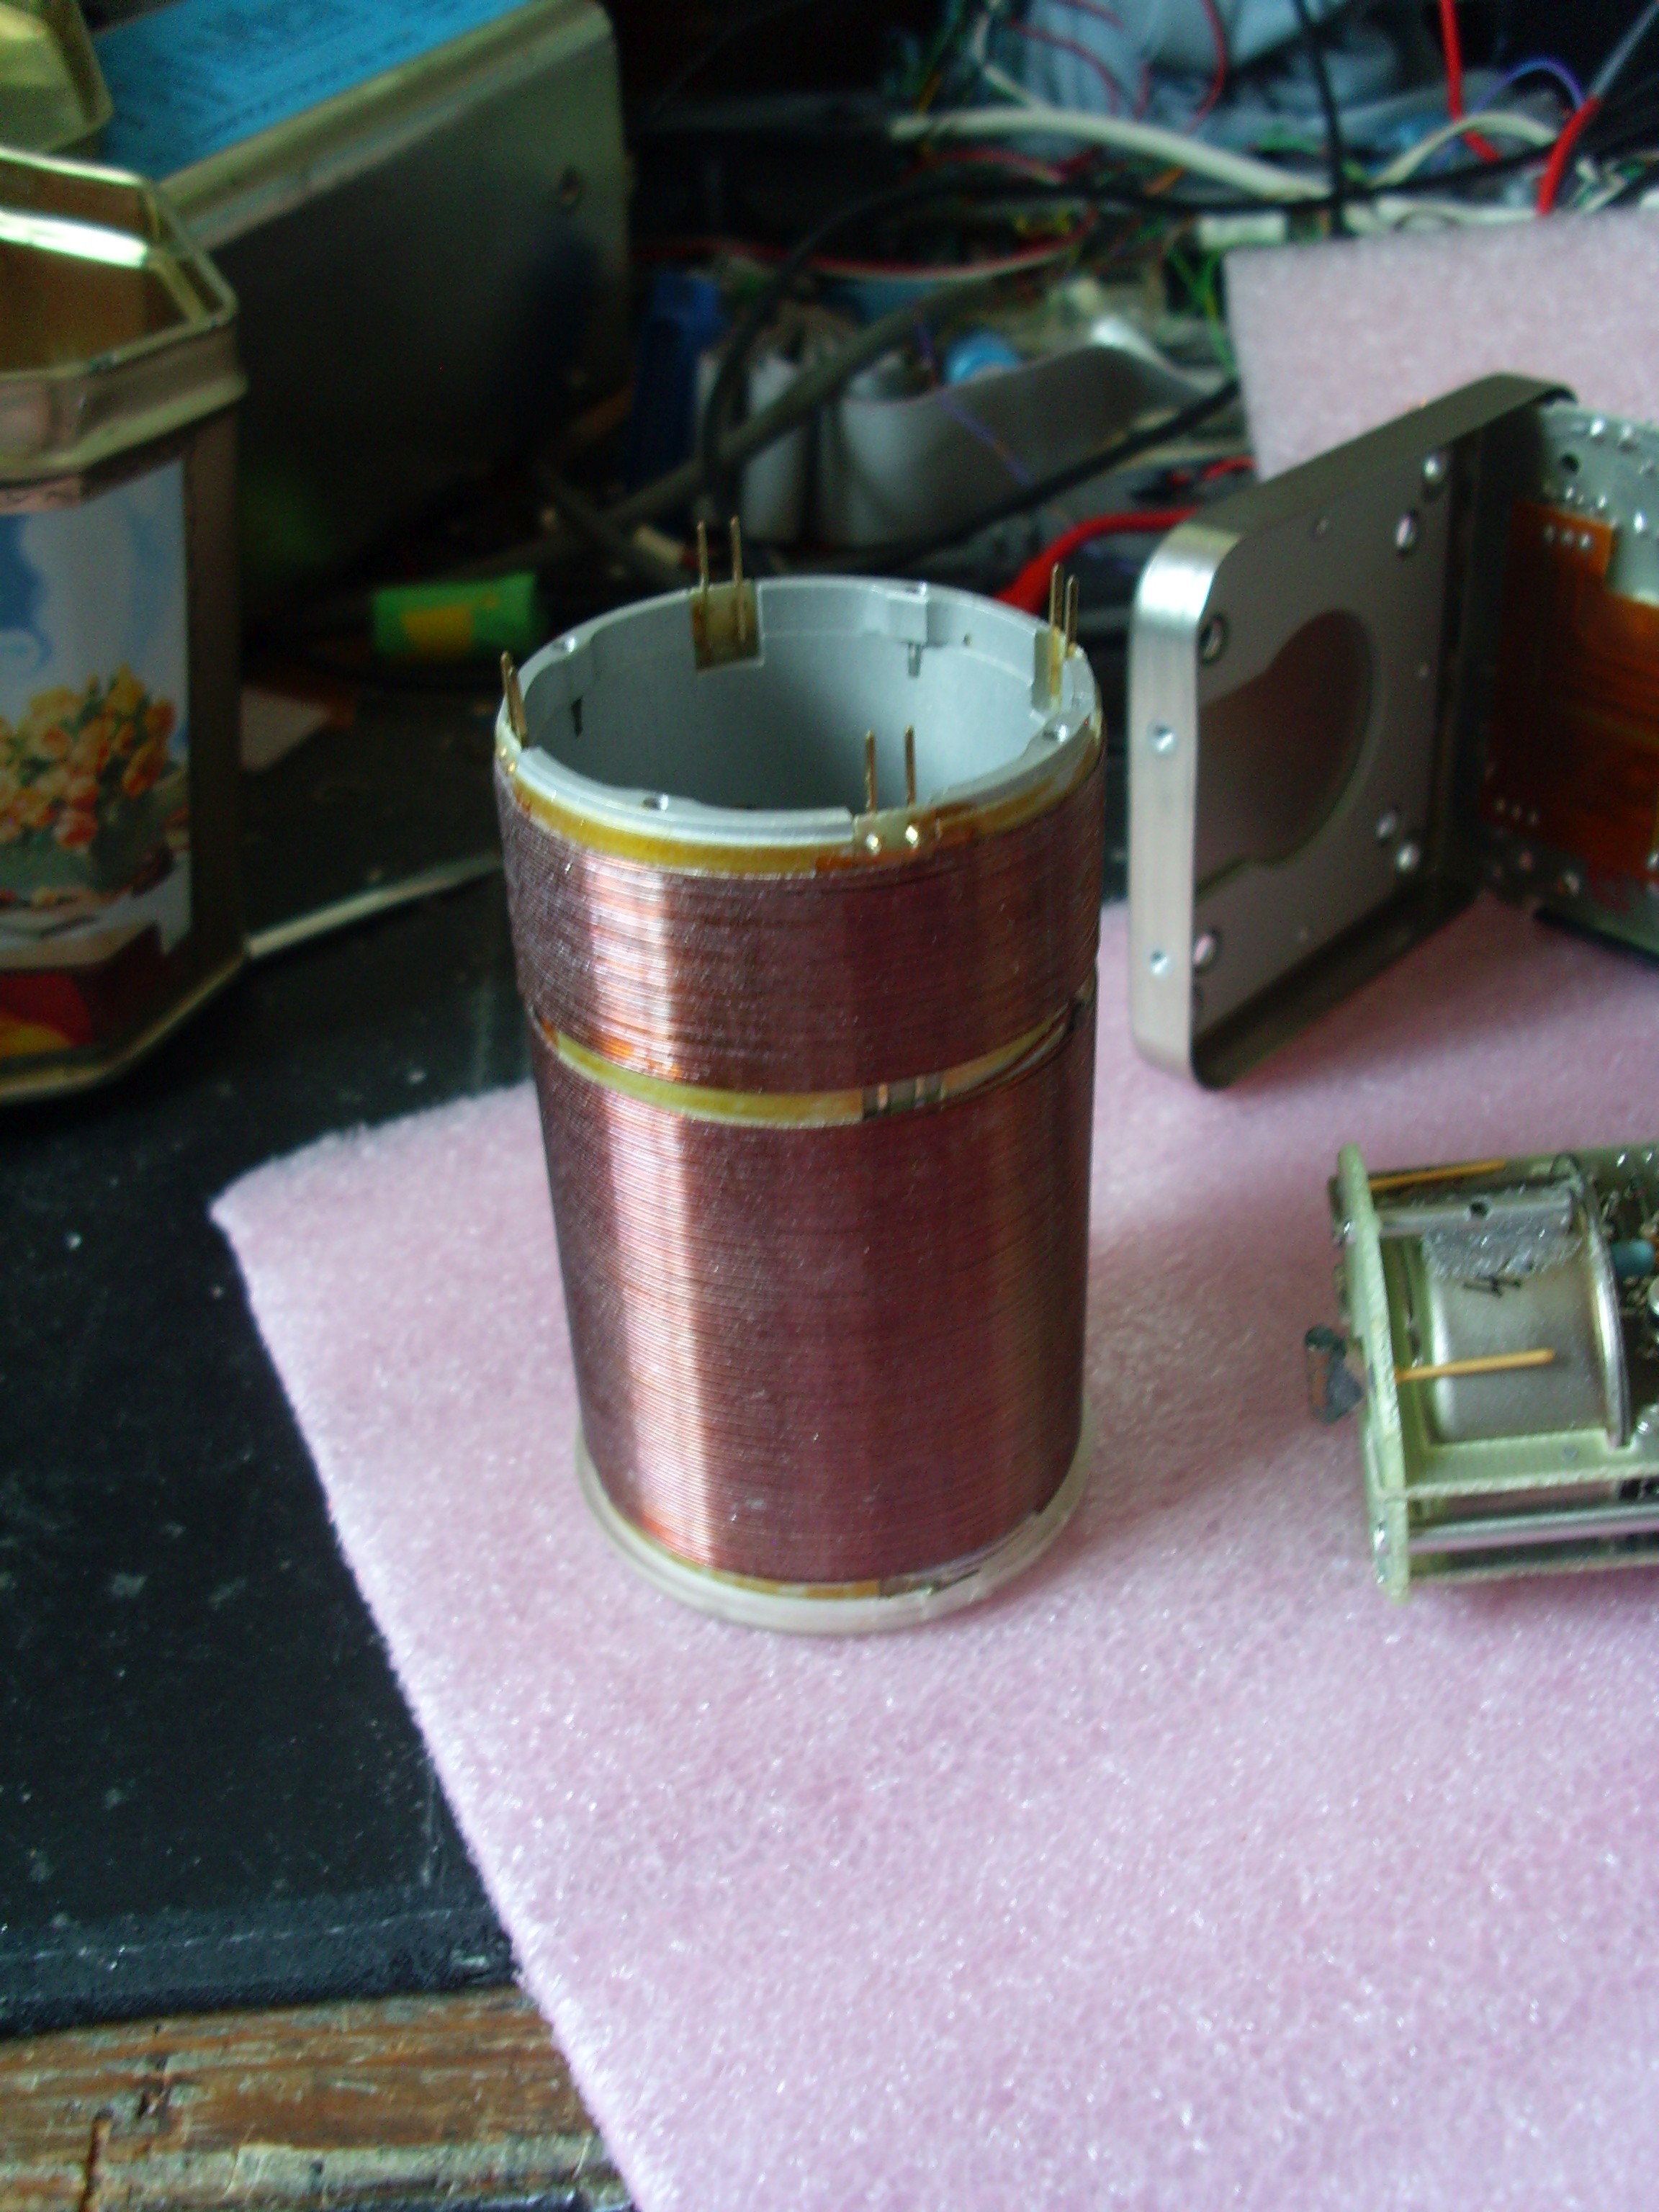
Oscilloquartz 8601 BVA oscillator tear-down
Images and text courtesy of Ed Palmer.
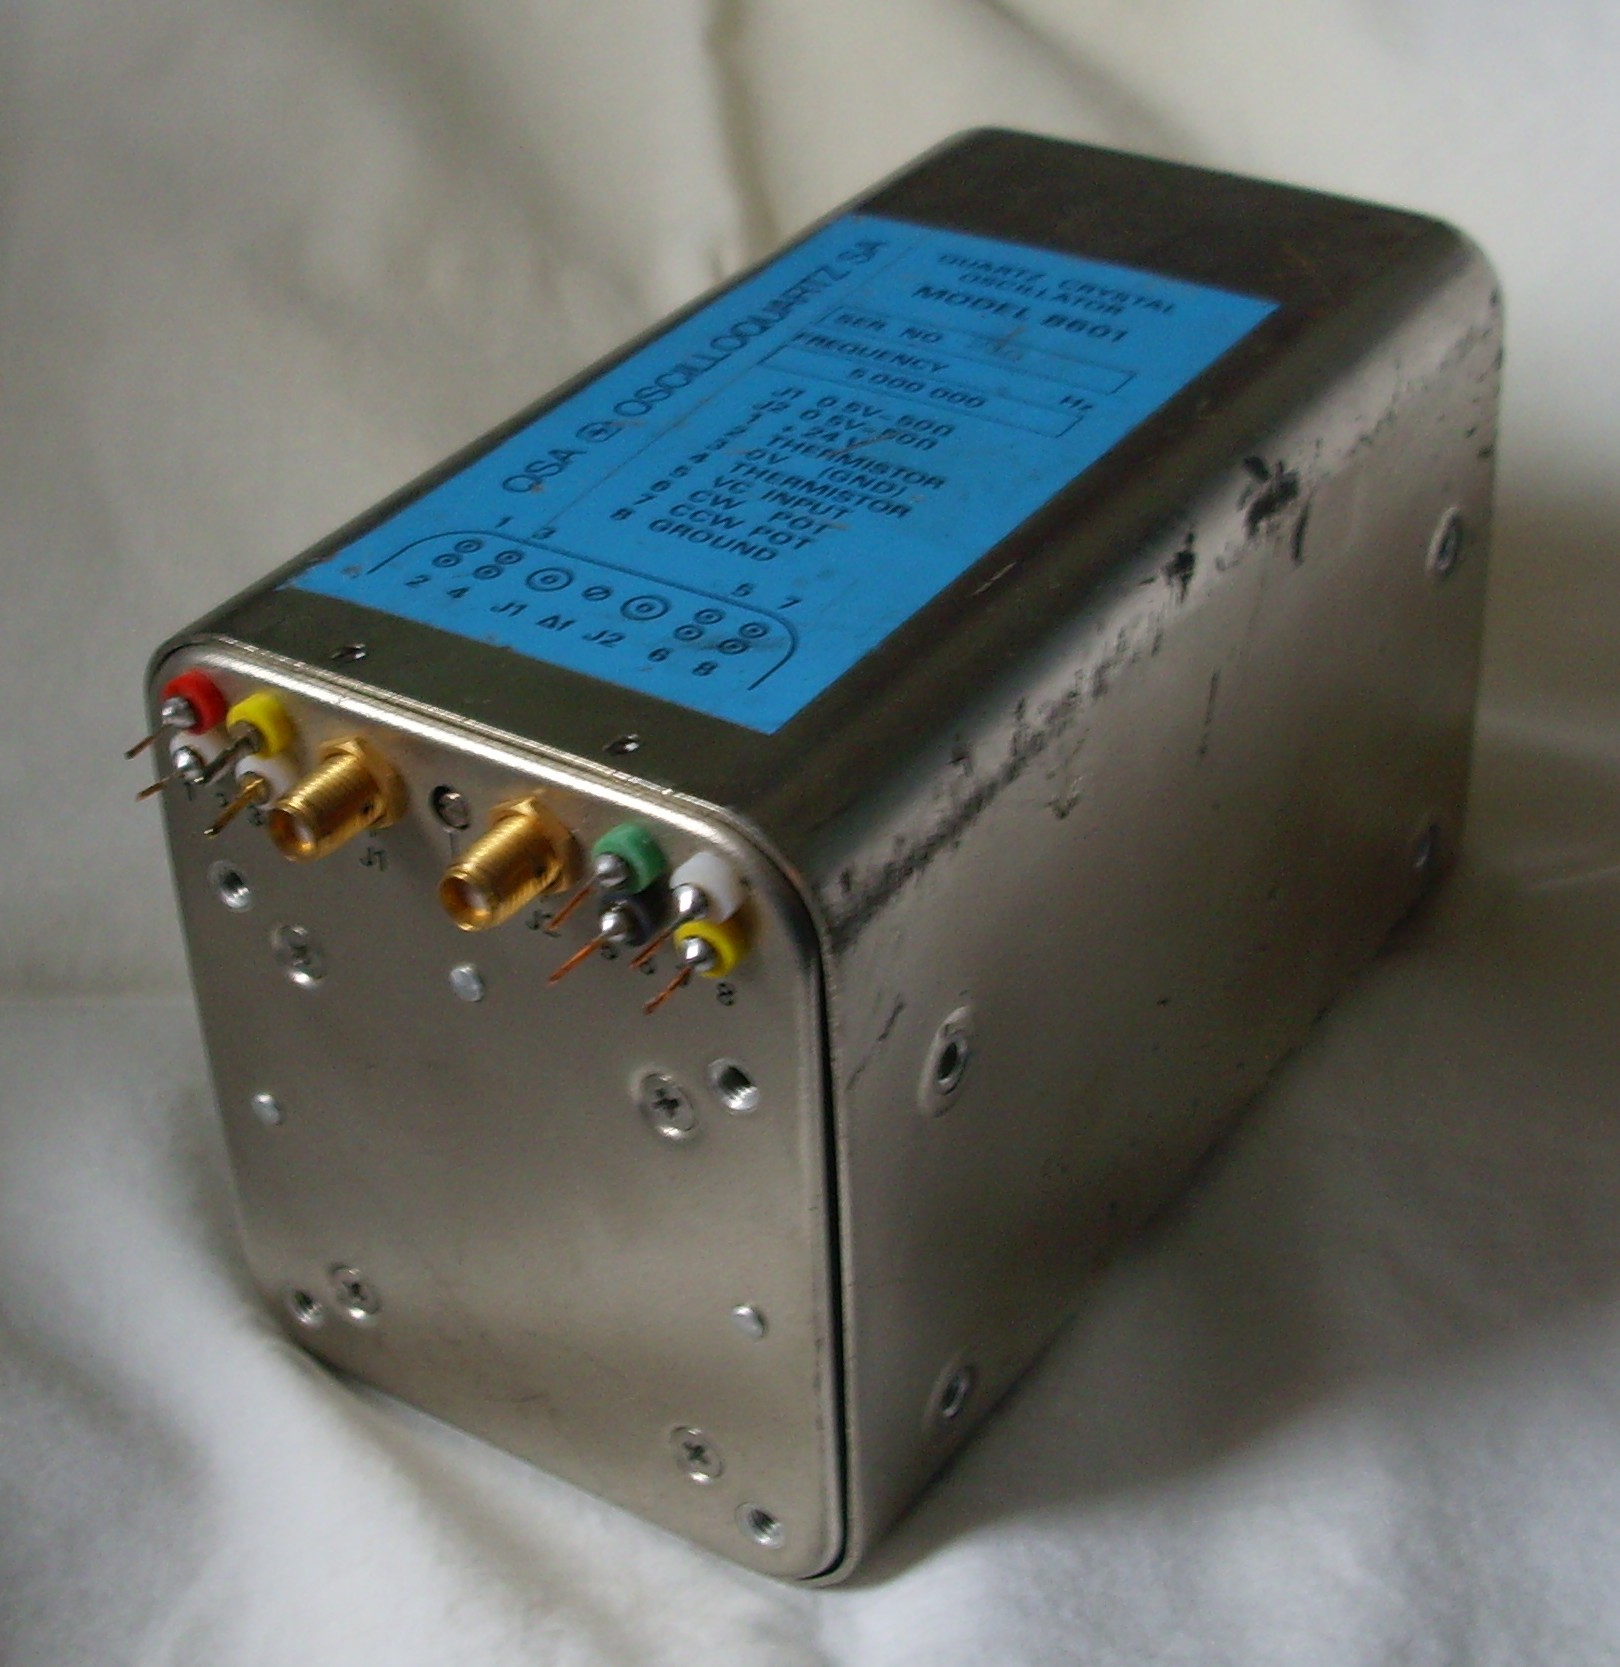
1. External View
The 8601 is an 8600 with a different connector arrangement. Here you can see the pins and, between the two SMA jacks, the coarse tuning pot.
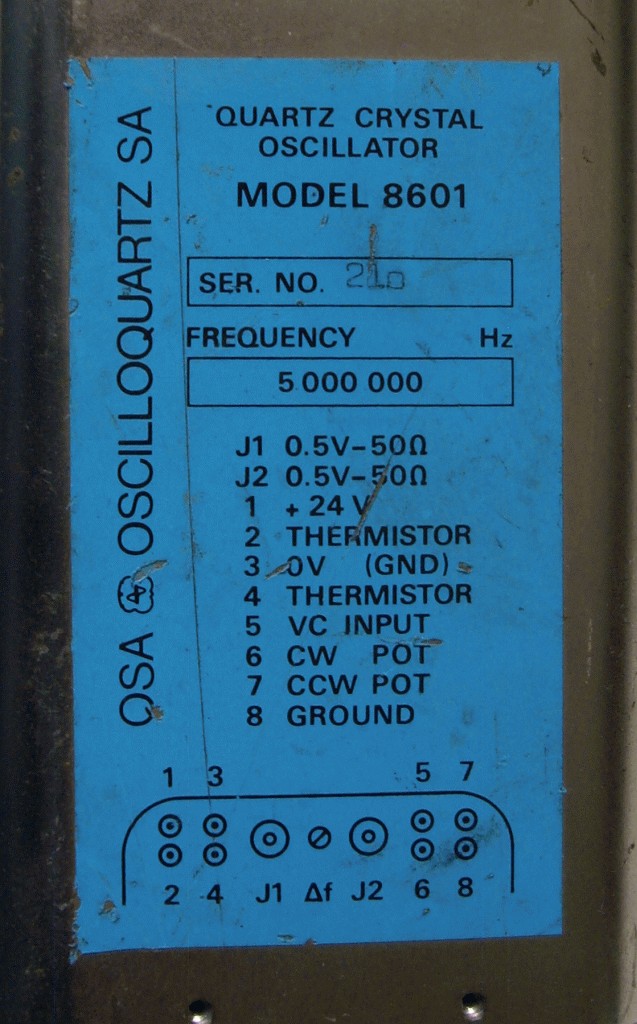
2. Label
I think that's serial number 210. I don't know why the '0' is odd.
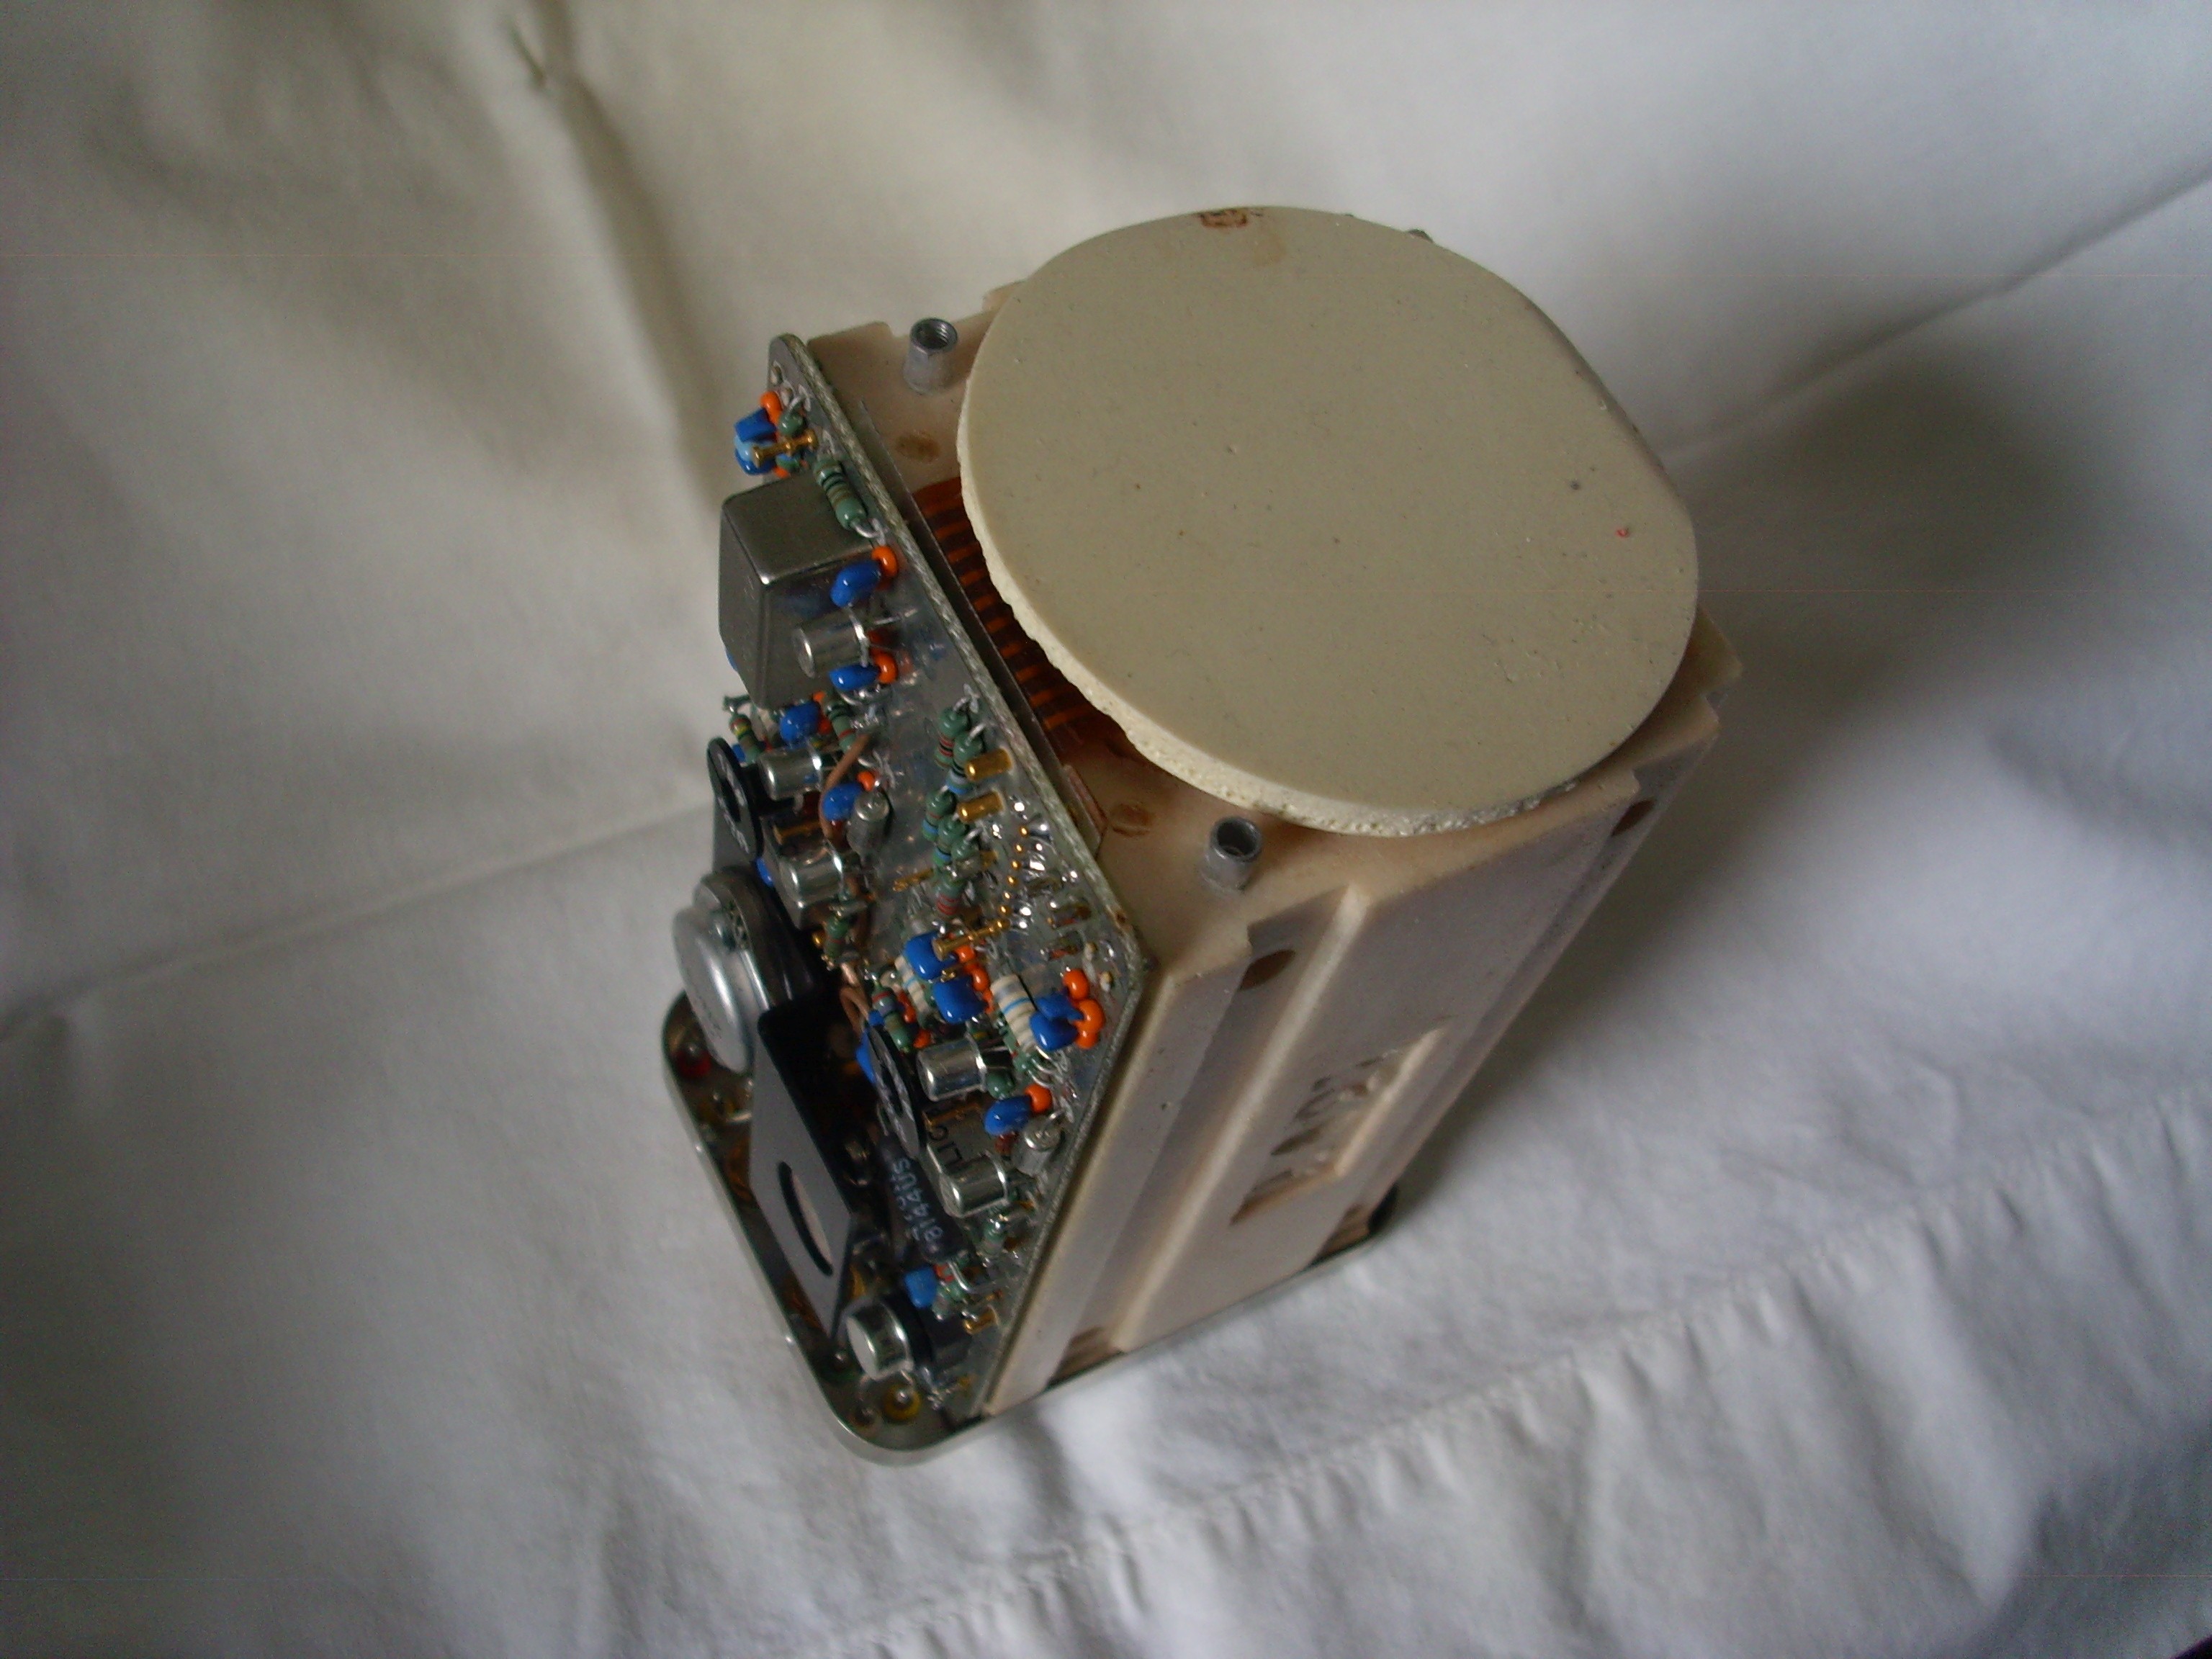
3. Metal Shell Removed
Remove a few screws and slide the cover off and you see this. The circuit board includes the usual functions like voltage regulation, buffer amps, etc.
4. Insulator Removed
Removing the round insulator reveals the flexible circuit board that connects the external board to the oscillator inside the Dewar flask. The round insulator prevents the flexible circuit board from touching the external case. This is to prevent thermal leaks, not electrical.
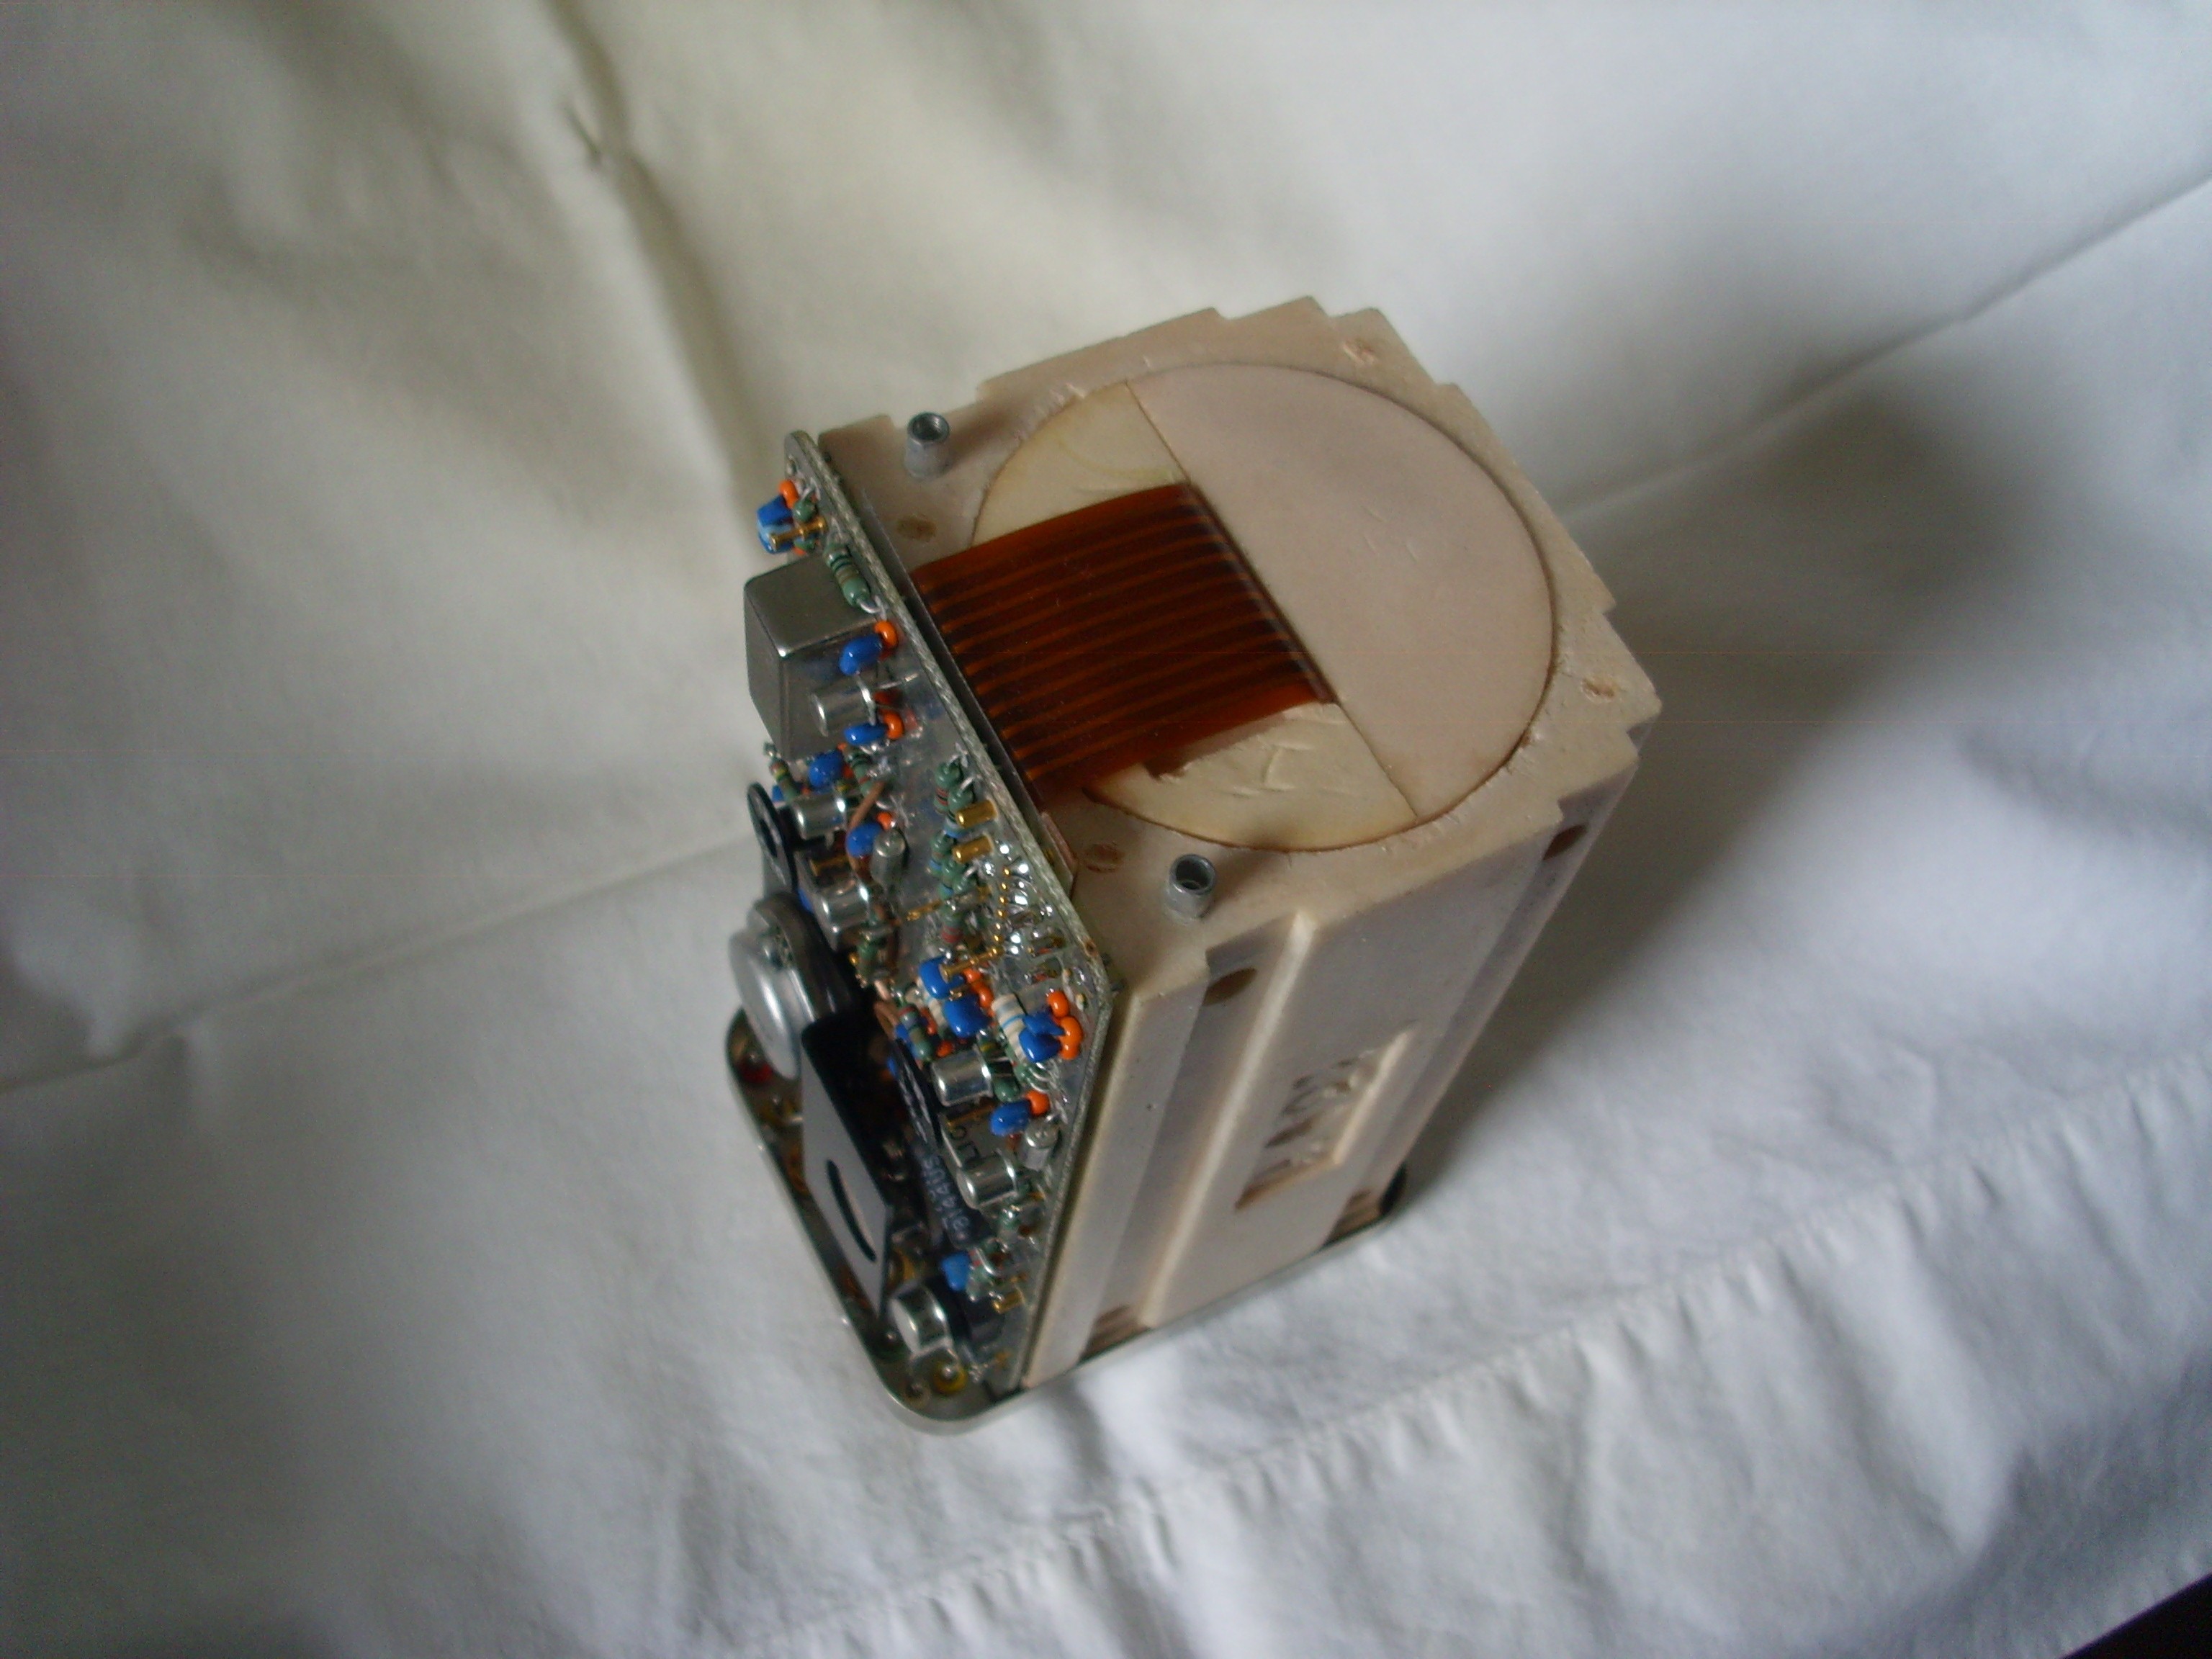
5. Next Insulator Removed
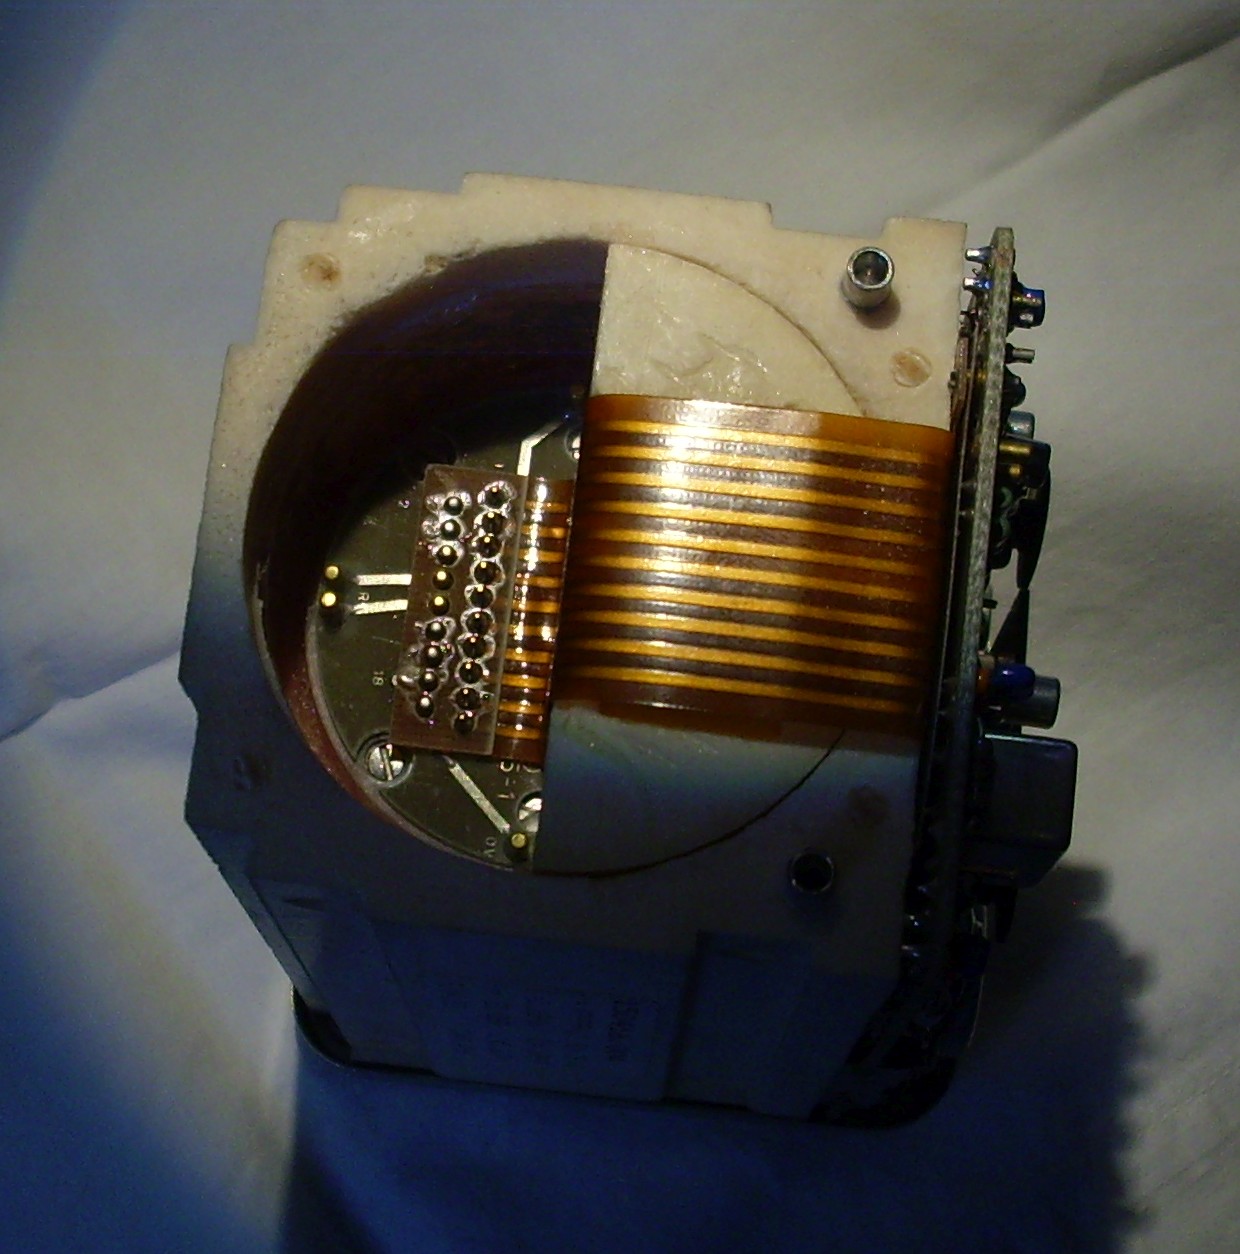
Removing the half-round insulator reveals the first view of the oscillator assembly. The fit was very tight to ensure that there were no thermal leaks.
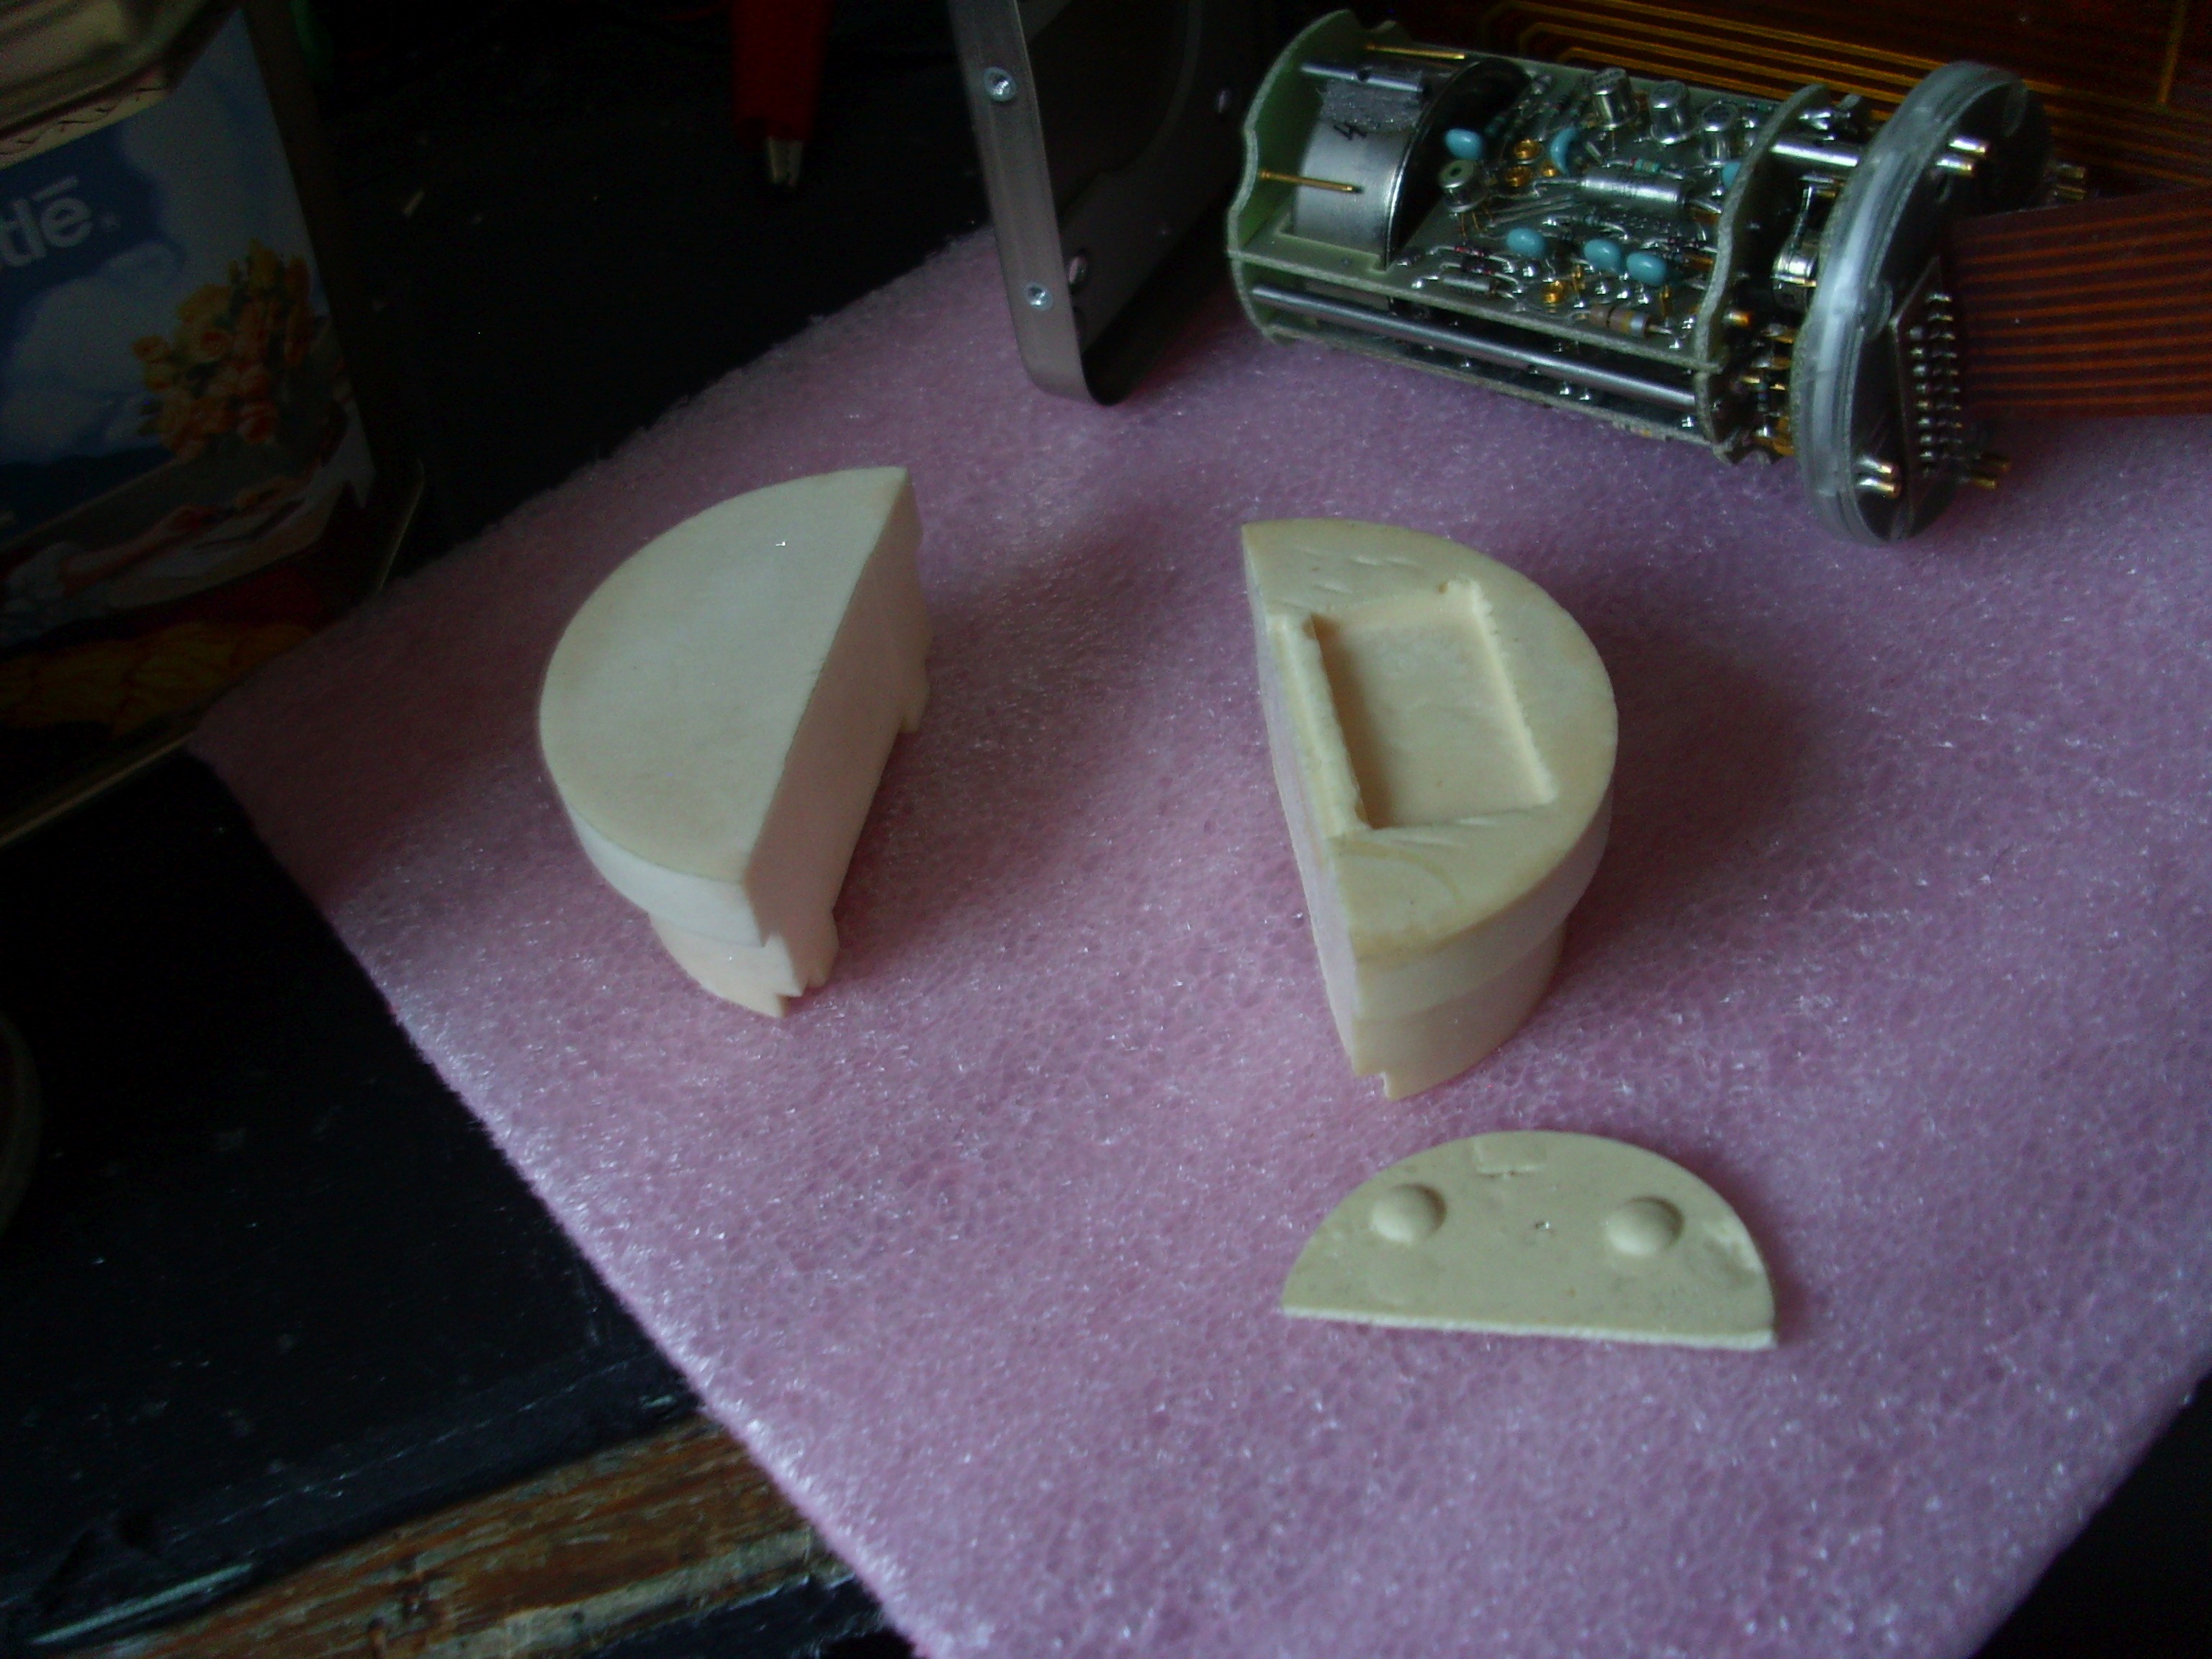
6. Insulators
Here's the two half-round insulators that squeeze the flexible circuit board between them. The small insulator is soft, presumbably to help cushion the oscillator. The larger insulators are very hard.
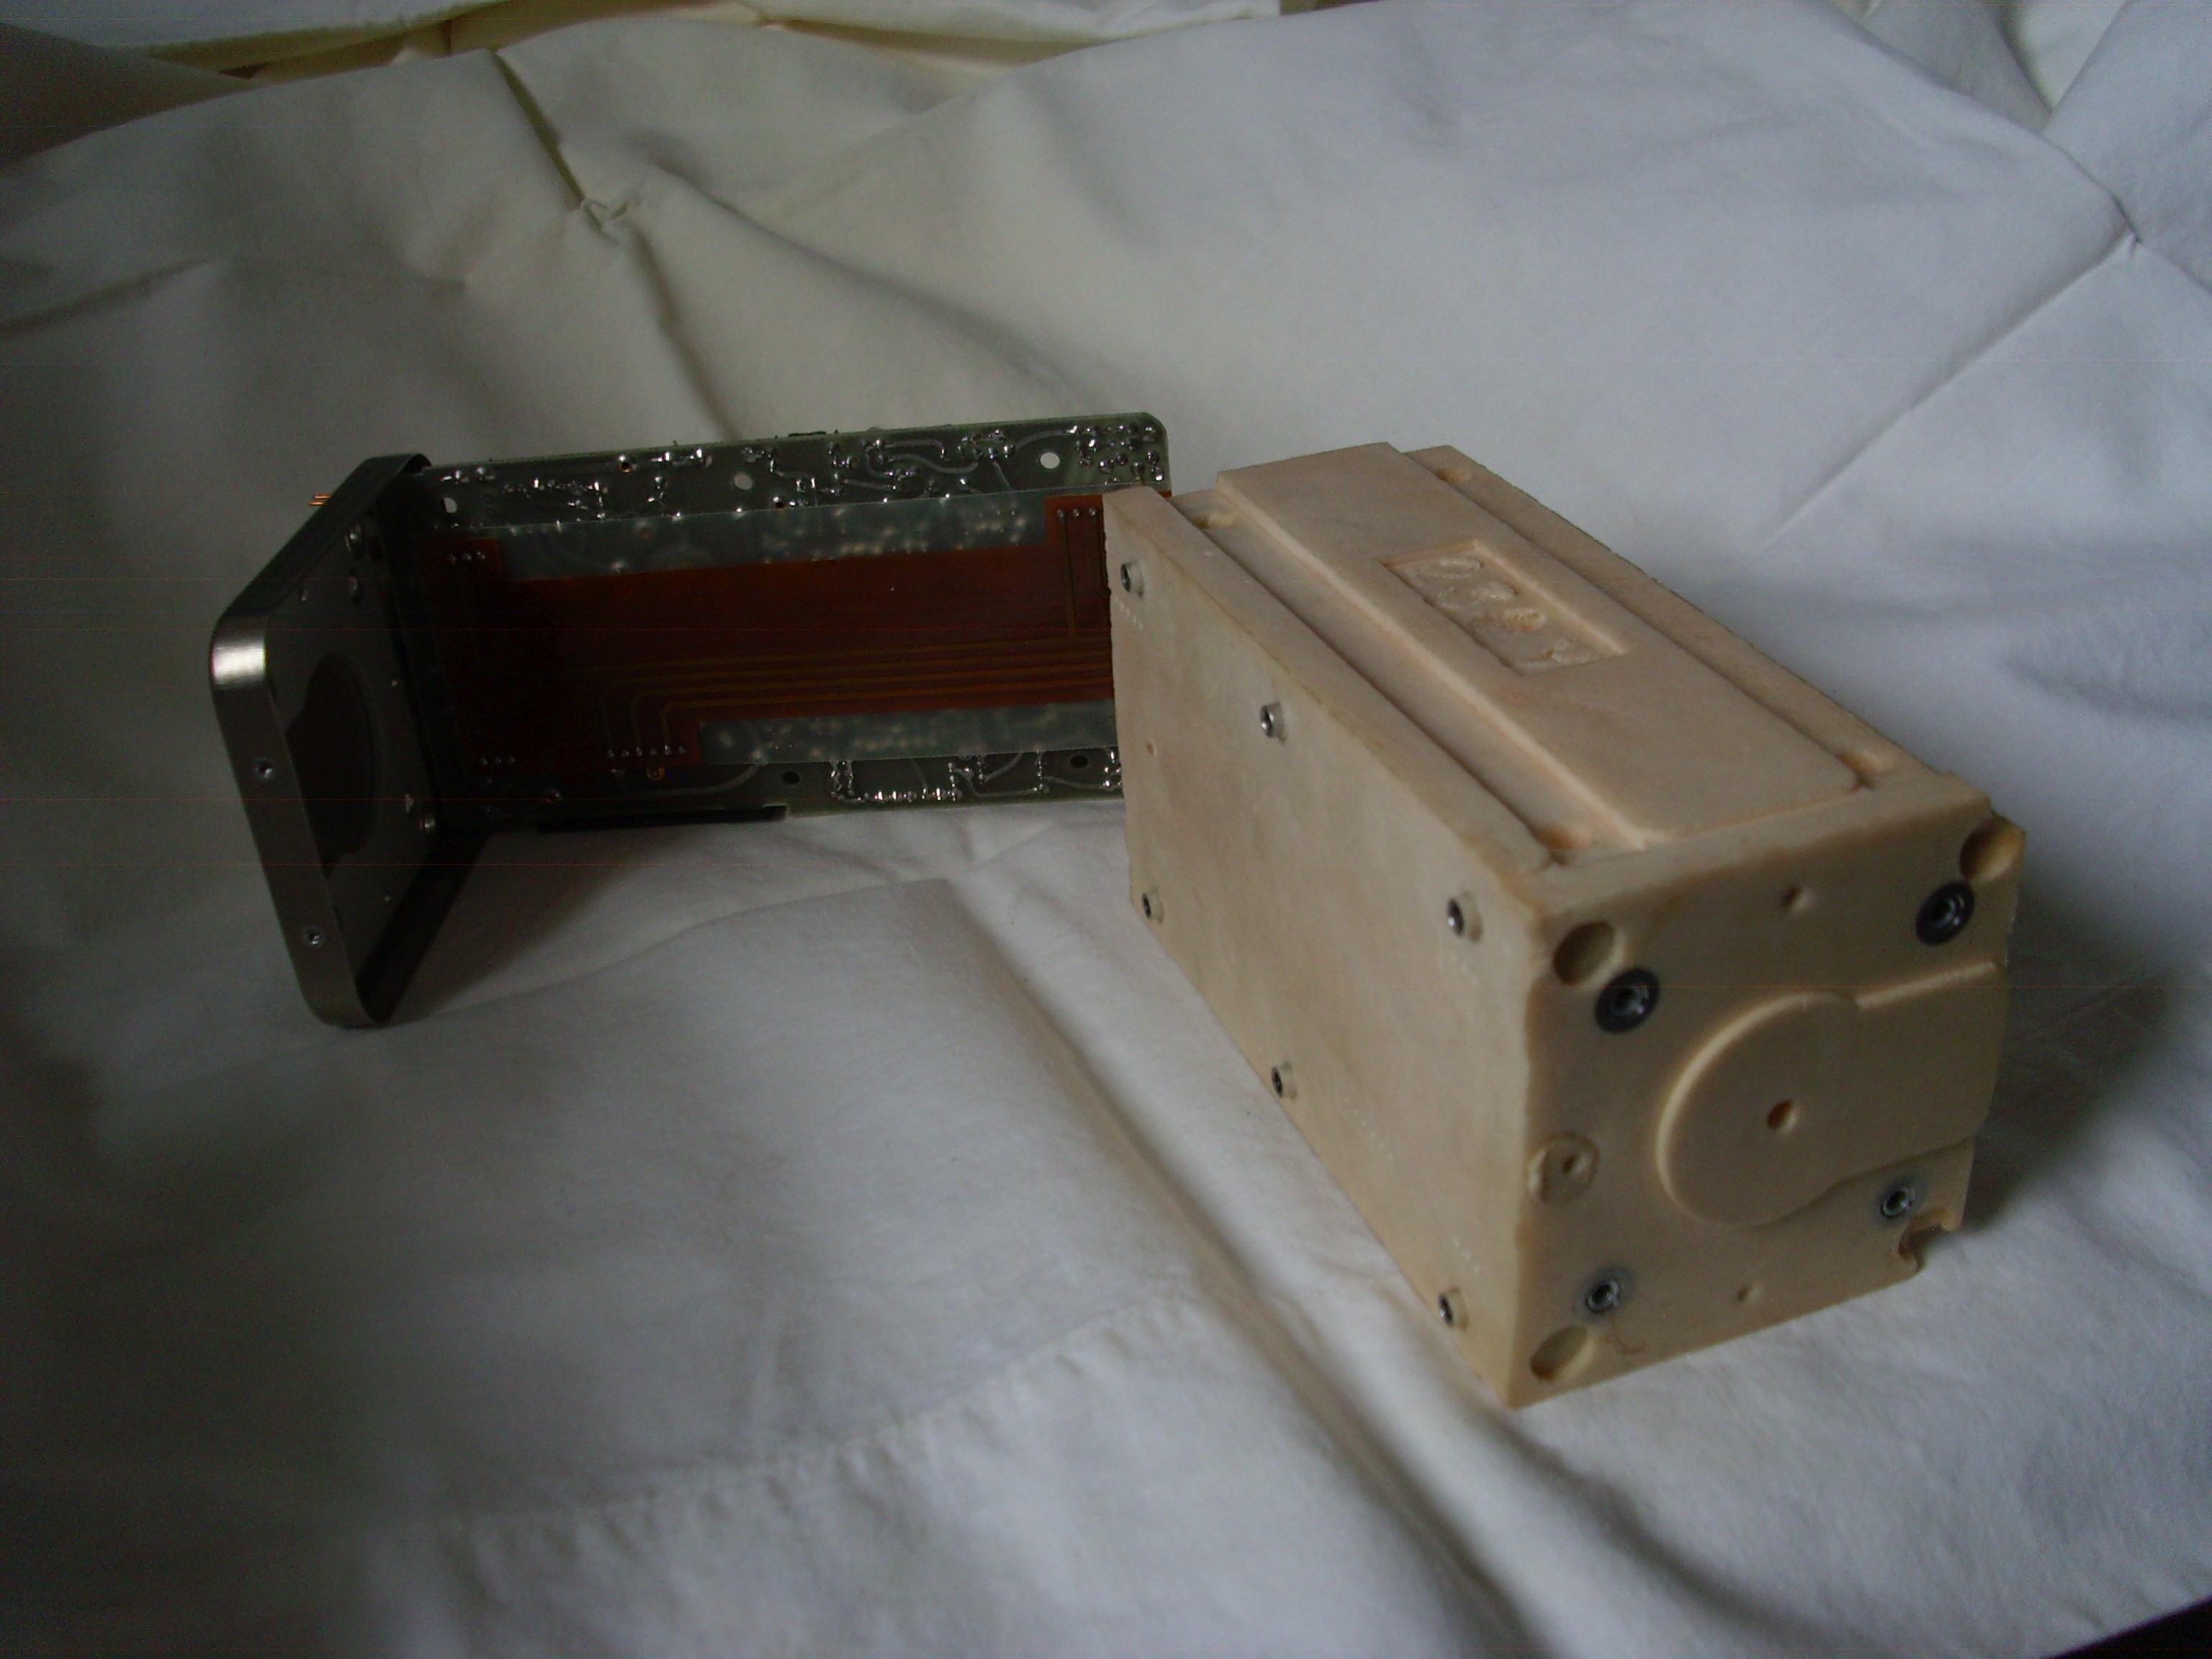
7. Oven-Oscillator Assembly
The foam surrounding the oven-oscillator on the right is extremely hard. It's the same foam as the hard half-round insulators in the previous picture. It isn't used for its thermal properties, but rather for structural support of the Dewar flask that it's molded around. It appears to have a metal frame inside the foam to hold the screw anchors.
8. Dewar Flask
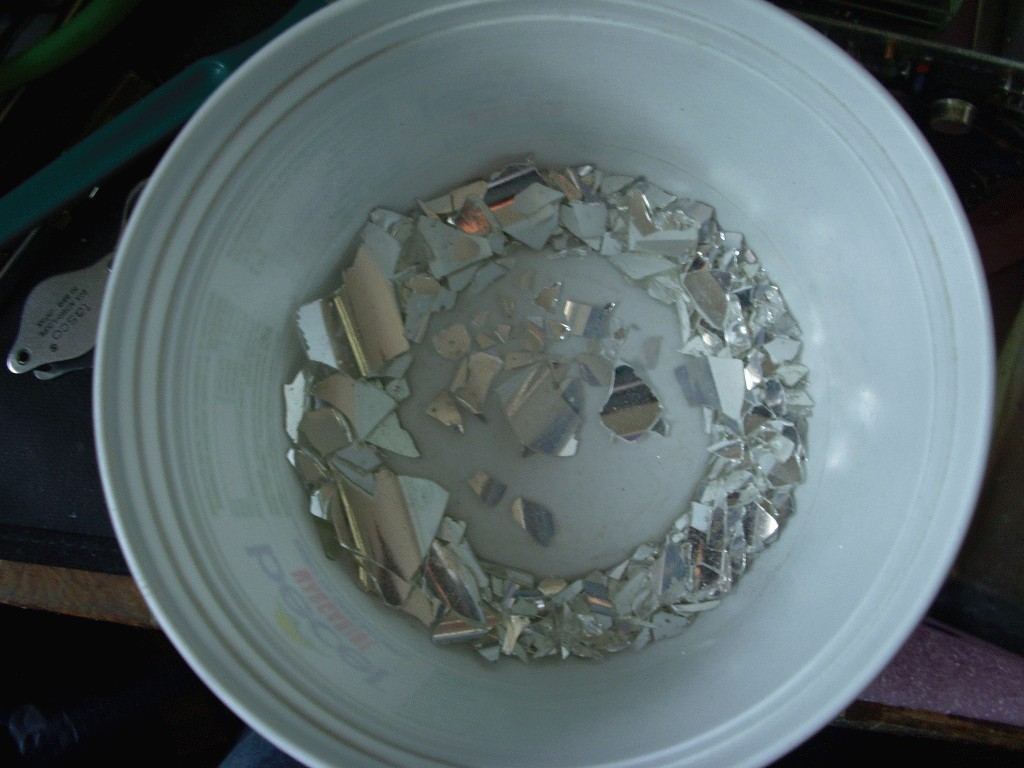
This is what I found when I got to the Dewar Flask. The oscillator had obviously been bumped around too much and the Dewar was shattered. These Dewars are considerably more fragile than a typical home Thermos. I later replaced the Dewar with a steel Thermos. Not ideal, but the size was right.
9. Bare Oven-Oscillator Assembly
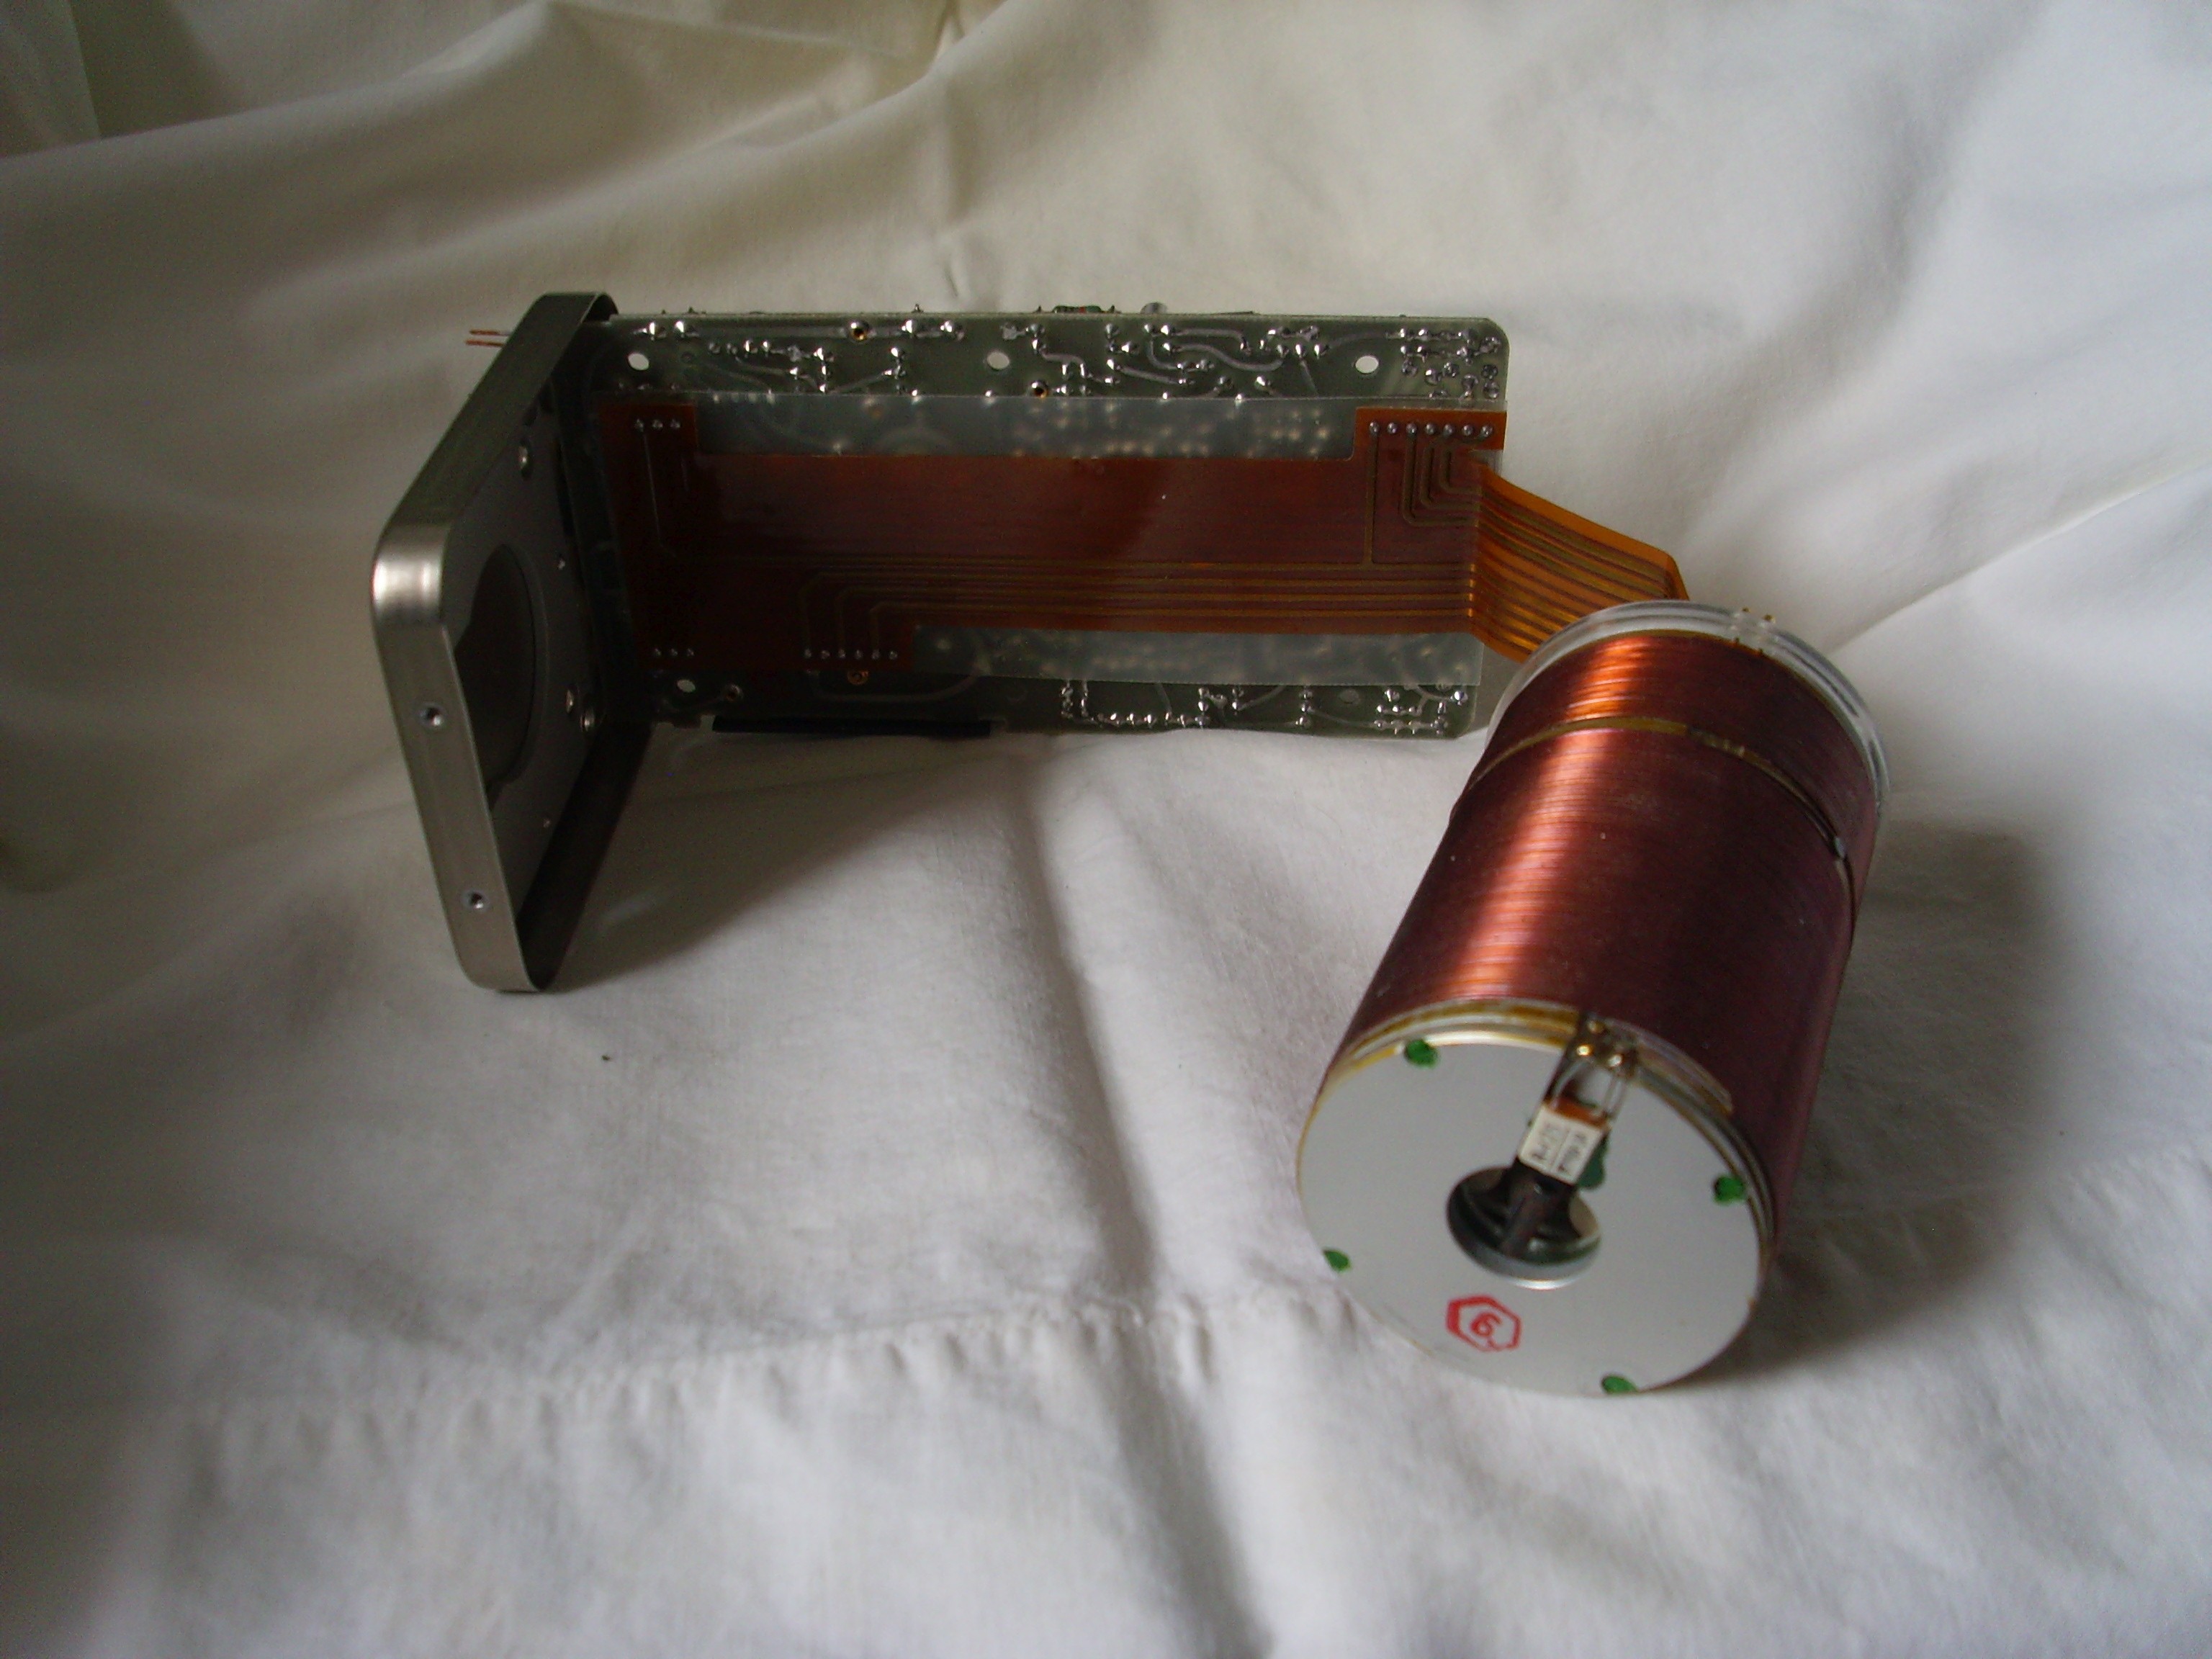
This shows the oven-oscillator assembly after removal from the Dewar. It doesn't show up very well, but you're actually seeing the crystal through the hole in the bottom. Also visible is the thermal cutout that protects from an oven fault.
10. Oscillator Board
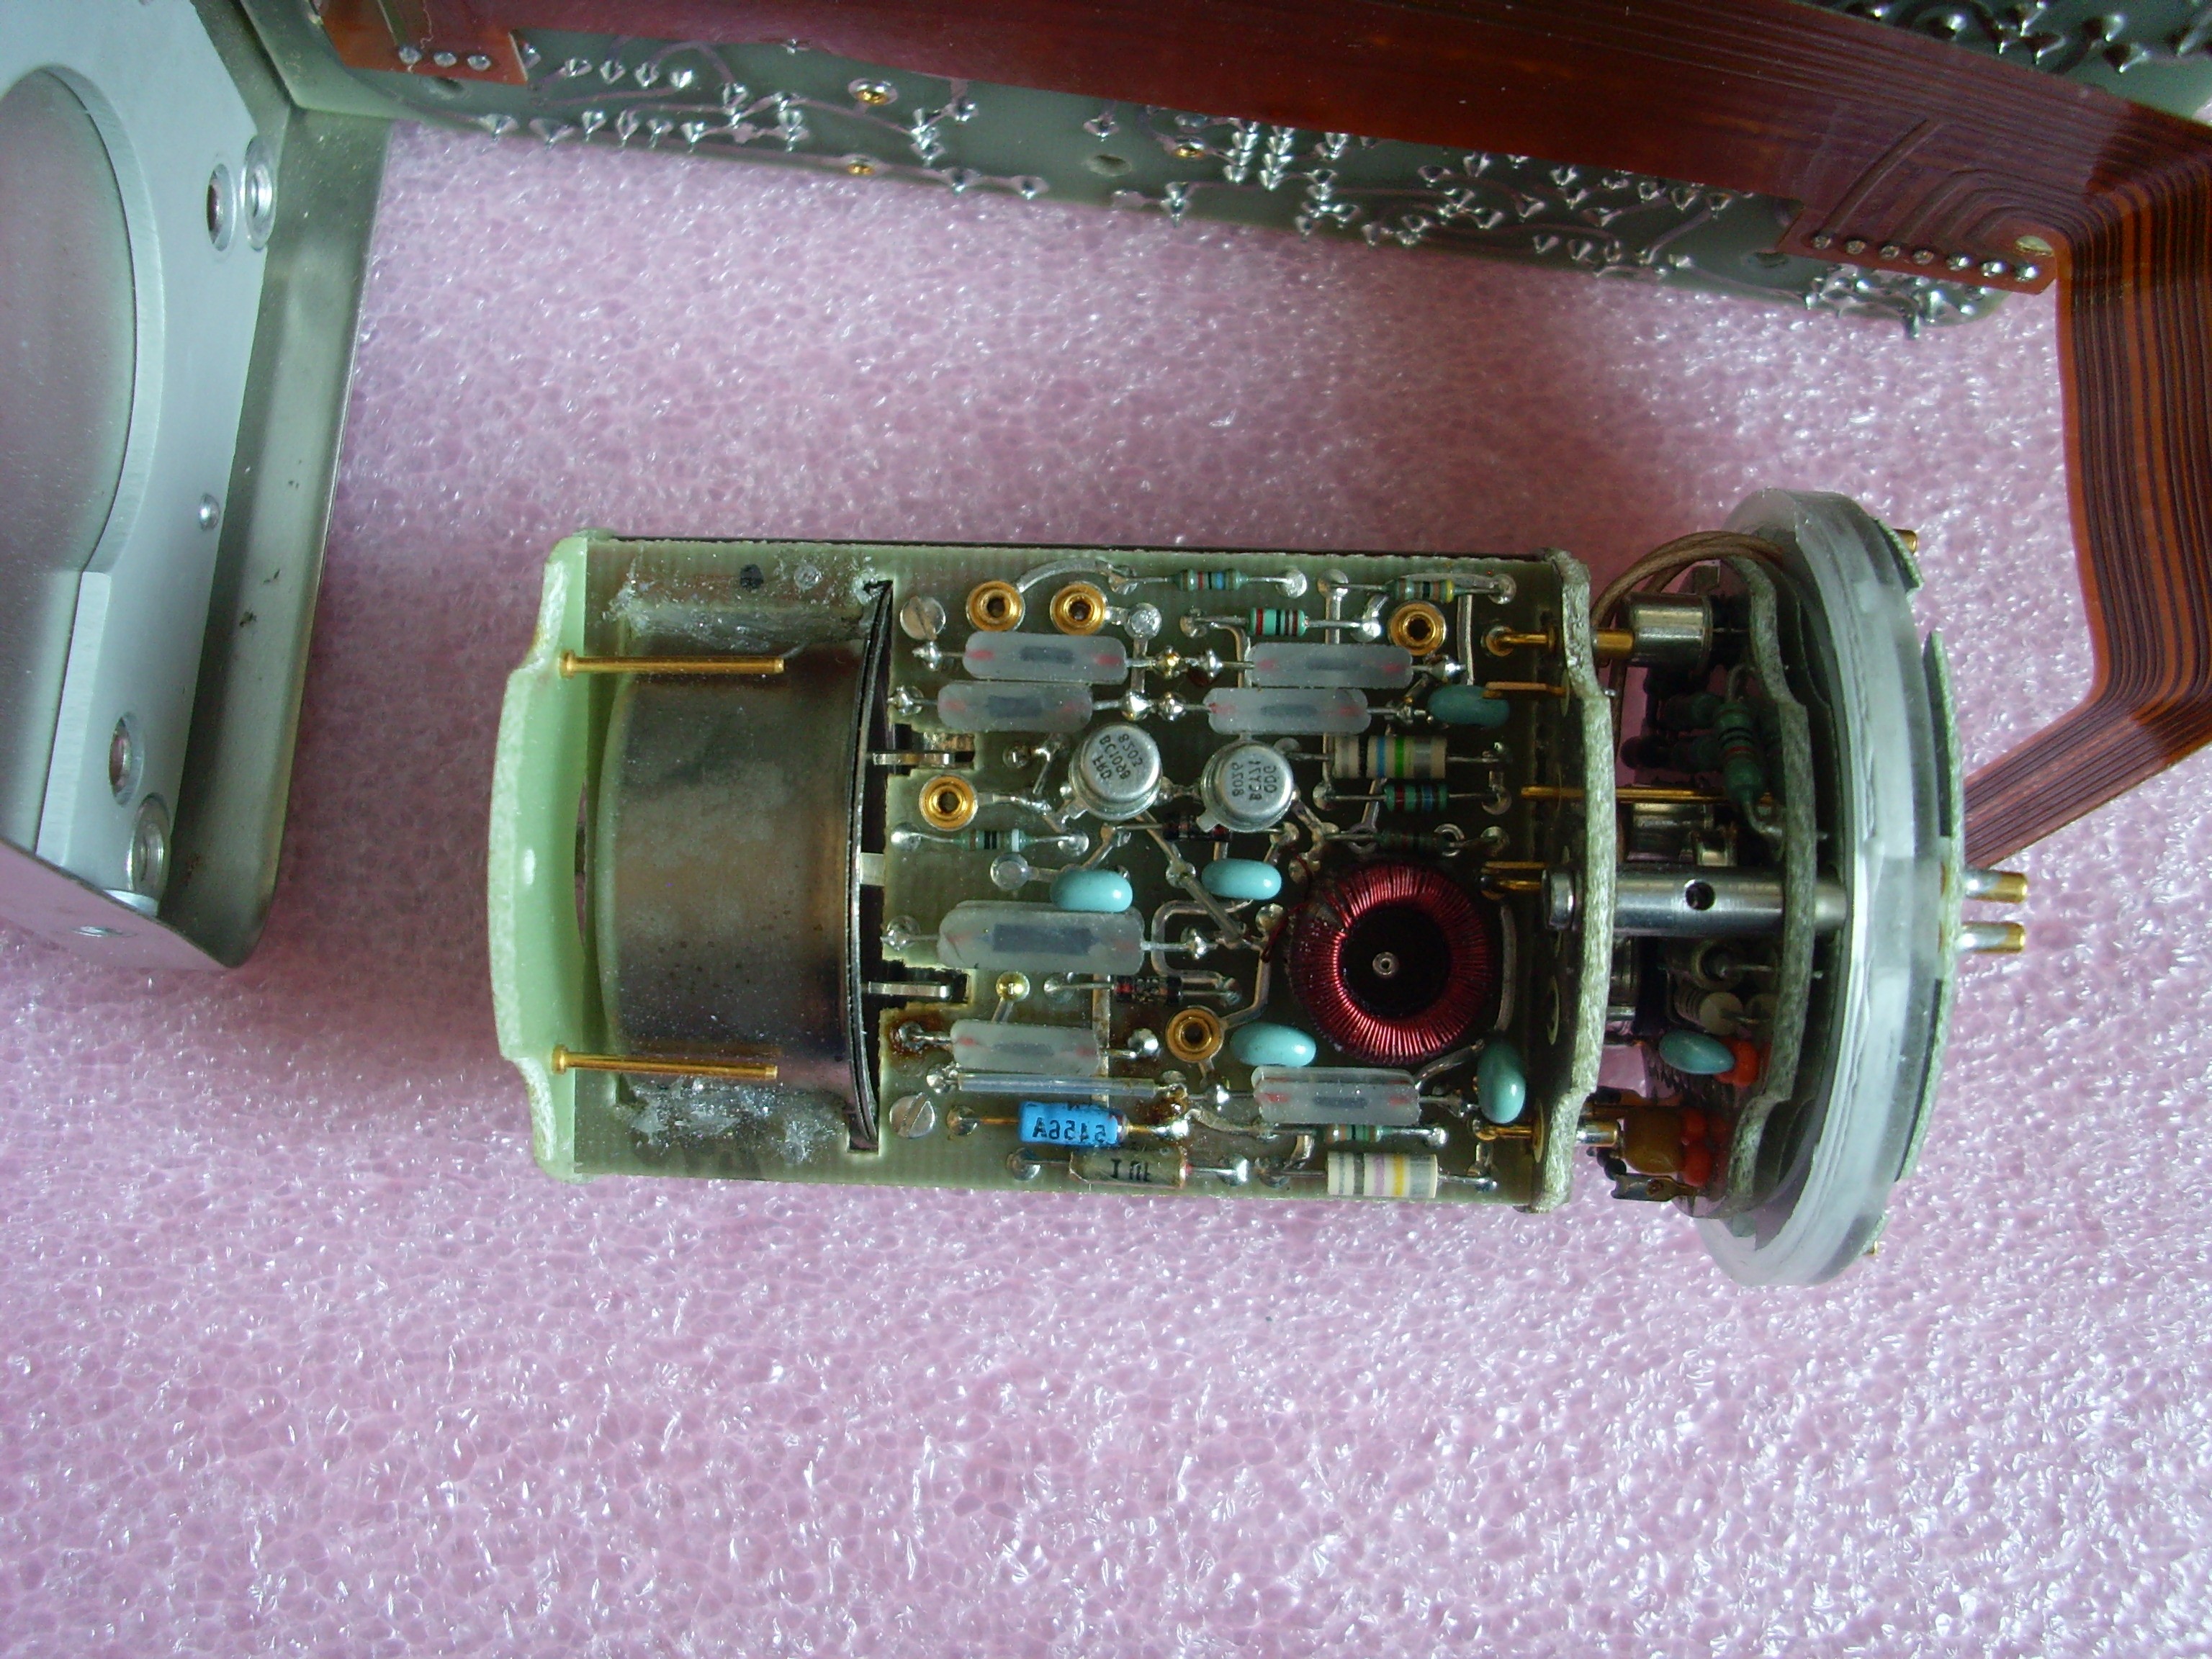
The grey cylinder on the left of the board is the BVA crystal. It's secured in place with silicone and the gold-colored pins. The seven grey oblong components on the board are AVX CY series glass capacitors. Although very stable over time, they have a significant temperature coefficient, so the oven temperature has an effect on the frequency stability. Removing the capacitor closest to the toroidal coil raised the frequency by 0.35 Hz and allowed me to get the frequency back on 5 MHz. On the top of th
e oscillator (right side of the picture) you can see two of the sockets that attach the oven heater to the oscillator.
11. Crystal Parameters
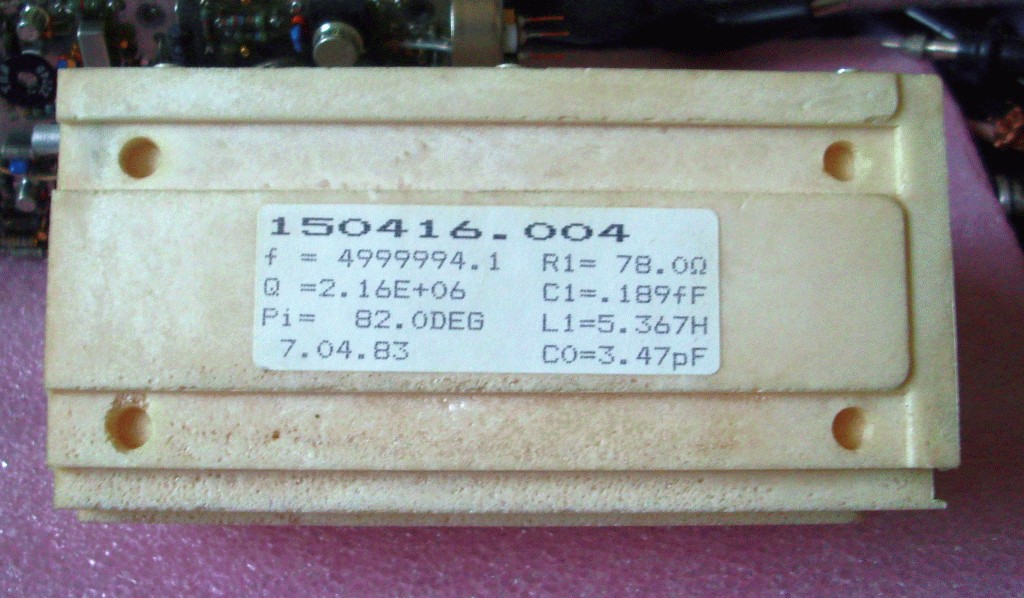
It can be quite difficult to determine the parameters for a crystal, but not always! I'm assuming that's a date code of July 4, 1983 in the bottom left corner.
12. Oven Heater
The heater consists of an aluminum cylinder with the heater winding wrapped around it. There's a thermistor epoxied into the cylinder to sense the temperature. Also visible are 4 pairs of terminals that are used to connect the heater winding and thermistor to the oscillator assembly that's partially visible on the right.
